I'm going to make a new one for WonderCon and side note: I will be cosplaying this year as...Viper! Oh yeah! I will of course be doing a blog post on that later. But for now let's grab some supplies and get to work!
You're going to need:
Craft Foam and/or Felt (you will need felt, but you can choose to use foam, fabric or more felt for the top layer)
Hair Clips (see the picture for the ones I used)
Glitter, Paint, rhinestones....whatever you want to use
Hot glue and glue to put on your embellishments if you have any
Scissors and/or x-acto blade
You'll want to map out the logo or design you want to use (If you'd like the simple starter shapes I used they are under the "Insert" tab on Microsoft Word.)
 |
| These are the templates I have used. |
You need to think about how you want each section of it colored, what material you would use for that (glitter, paint, rhinestones, etc.) The simplest way I knew of was chunky glitter and glue, after cutting each piece of the logo out individually, glitter them, let them dry and then putting it all together. Rhinestones are tricky to get all perfect and lined up. If you use paint you have to be sure whatever material your painting on won't curl up as it dries, same goes for glitter glue.
I am going to start with the Avengers logo fascinator, and I will do it two different ways so you can choose whichever you prefer, or whichever you have the materials for...lets get crafty!
Start by taking your Avengers template (I printed mine out.) You will want to cut the base circle out of felt, and the blue layer out of foam, just place the template on the felt/foam, and trace the circle, then cut. Now take your template and cut out the The actual letter (this means you will have two pieces, a big a and the little triangle under the arrow.)
 |
| Be sure to cut it out carefully! If you are using glitter or paint, the foam color won't matter, however, as you'll see in a later photo, there is foam that is silver glitter already! If you use the glitter foam, you need to remember to pull the backing off before you glue it to the next layer. |
 |
| Make lines about 1/4-1/2 inch from the ends of each side of the hair clip |
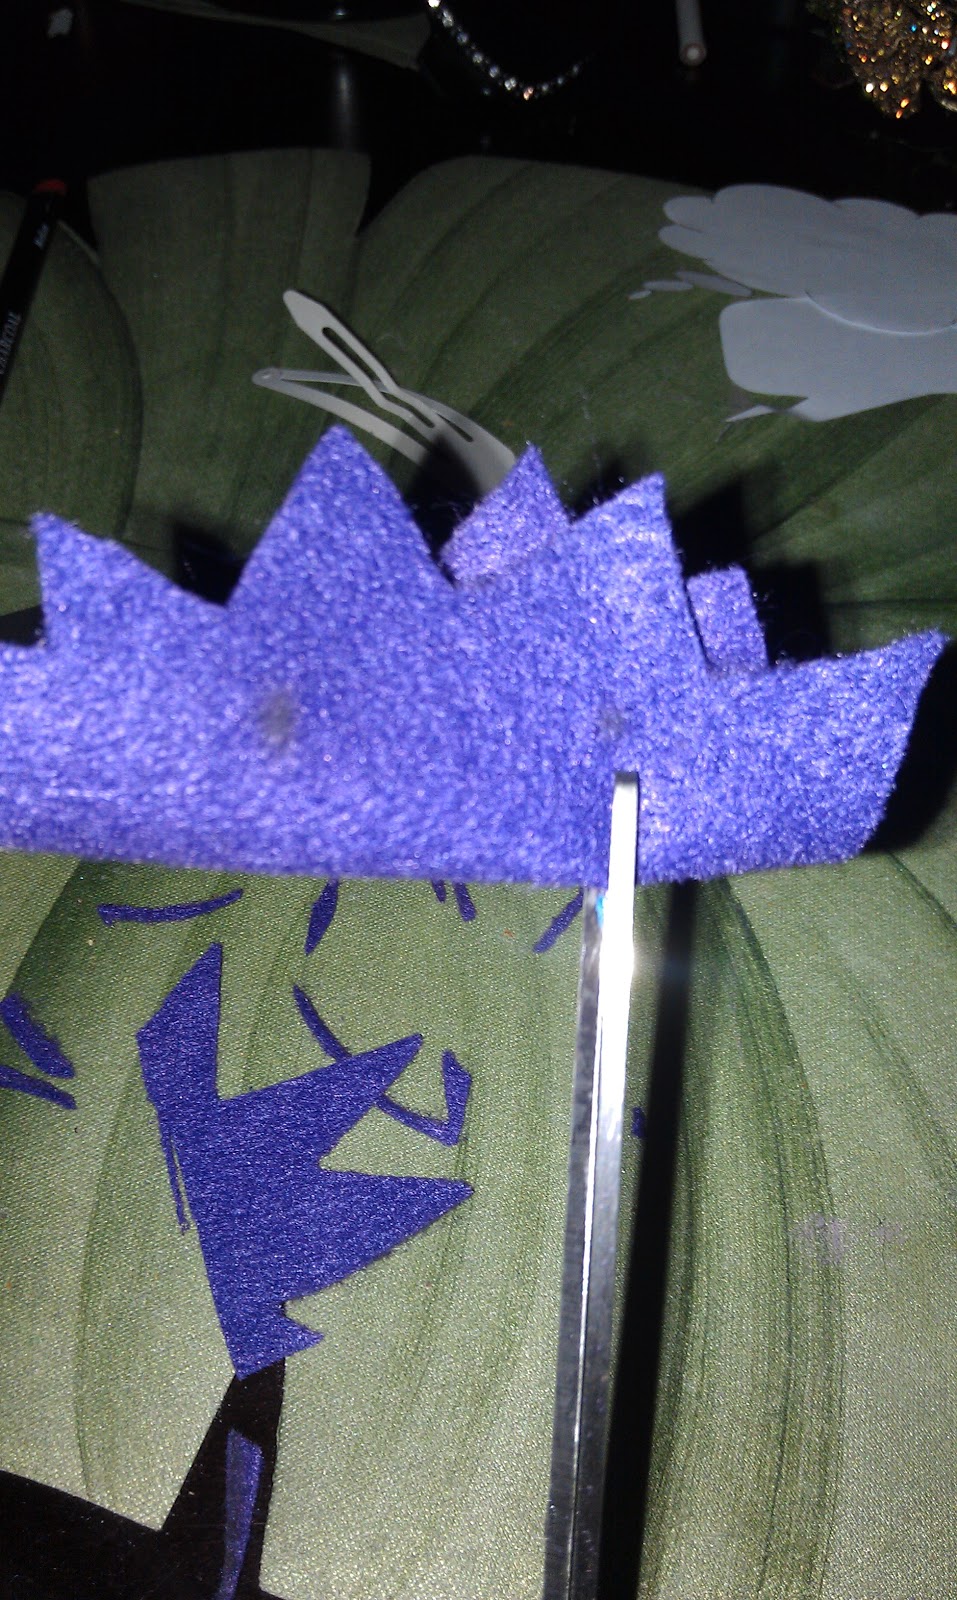 |
| Cut slits into felt to slide the hair clip through |
 |
| end result = a layer you can slide a clip in and out of with ease |
 |
| Choose your colors and fineness for glitter and get some plain glue, a foam applicator brush and a paper plate |
 |
| set up in a location where it is ok to make a mess |
 |
| Squeeze a little glue onto the FRONT of your logo, then spread it evenly over the face of the logo. |
 |
| Set it gently into the glitter glue side to glitter. Press down to get a nice even coat |
 |
| Repeat with your background layer, then flip pieces right side up onto a towel to dry. Let them dry completely, do not rush! |

Flip it over so the backside is showing. Take your base layer with hair clip closed, top side up, like the photo...the one up there^
Now you will put a circle of hot glue around the edge of the backside of the logo, and sandwich it to the top side of the felt layer.
 |
| Be sure to steer clear of the area that would touch the hair clip remember you want to be able to slide it out! I don't suggest using glitter glue, it had already been loaded into the glue gun. just use clear! |
 |
| Watch your fingers...this is where you could get burned :( |
Well well...it looks like you have yourself a fascinating fascinator, surely it'll be the talk of the town, or at the very least your local comic store!


No comments:
Post a Comment